New Cinematronics Programming Blog
July 22, 2009
I've created a Cinematronics Programming blog, which will contain most of the regular updates on my Cinematronics programming activities.
For now, I'm hosting it at Blogspot: Cinematronics Programming Blog
Cinematronics Programming - More Progress!
July 18, 2009
Not many updates to the site recently, mostly because I continue to work on the Cinematronics Test ROM. I continue to make good progress with some hurtles.
I originally was trying to get the entire test ROM into 4k, so that it would take two 2716 /2532 / 2732s. However, In order hold the data required to test all the games this won't be possible. So I've added bank switching and have increased the maximum size of the program to 8k. Note: I will have a separate slimmed down 4k version that only tests the 4k games: Space War, Starhawk and Barrier.
This means I've outgrown some of the initial assumptions I had in writing routines. I've had to backtrack a bit to spread the program across the two banks and manage bank switched subroutines and data. Without a stack, return addresses from subroutines have to be maintained by the programmer. Add to that the return can be to the same bank or a different one and that the routines can be nested and I've got a bit of a mess to clean up.
Left to do:
- Adjust Ram test to work without JMI: so that it will work with the older games.
- Finish Sundance keypad control tests: Only game that one press changes multiple inputs.
- Rework returns from Bank-switched subroutines: this is a pain, but has to be done.
- Add vector frame around game selection screen for yoke adjustment.
- Tweak vector timing in ram test and text drawing to fix smearing: vector draw is being turned on before beam has reached it's intended destination.
- Add Gear 4 control for Speed Freak: it's an exception to the rule, on when nothing's pressed.
- Expand timing routine for sound triggers: My current routine just plays each sound for a fixed length of time and then moves to the next sound. This works fine in MAME where samples are being played, but on the actual game hardware doesn't simulate the sound heard in the game well at all. This will be a two part timer: length of time sound played and length of time sound is off. Sounds will still be able to be locked with sound on.
- Finish tweaking and testing sound data where I'm able and cleanup silencing of sound boards.
I'll post pics / video at some point soon with more updates & notes on Cinematronics programming to come. The good part about all the work for the test ROM is that many of these routines will be able to be used for future new games making me that much further along for those projects.

Cinematronics Programming - Making Progress!
May 20, 2009
Due to some chronic health issues, I've found myself forced into resting most of the day for weeks (months actually) on end.
What to do to keep myself entertained? Learn how to program the Cinematronics CCPU!
It's been a long learning curve as the source documentation is not the best (written on a typewriter in the 1970's with many typos and hand-written notes) and there are many idiosyncrasies in the hardware to get used to.
Things are now coming together and I'm excited about documenting this in a more complete way and the possibility of new games for the Cinematronics platform in the future.
Progress Includes:
- I've developed a cine assembler using TASM that's 99% there - I'm just working the final bugs out that I encounter as I write and test code.
- I've documented line-by-line much of the code and memory usage for Space Wars and a few key chunks of Solar Quest.
- I'm starting to build a library of subroutines that can be used to take care of many of the basic tasks.
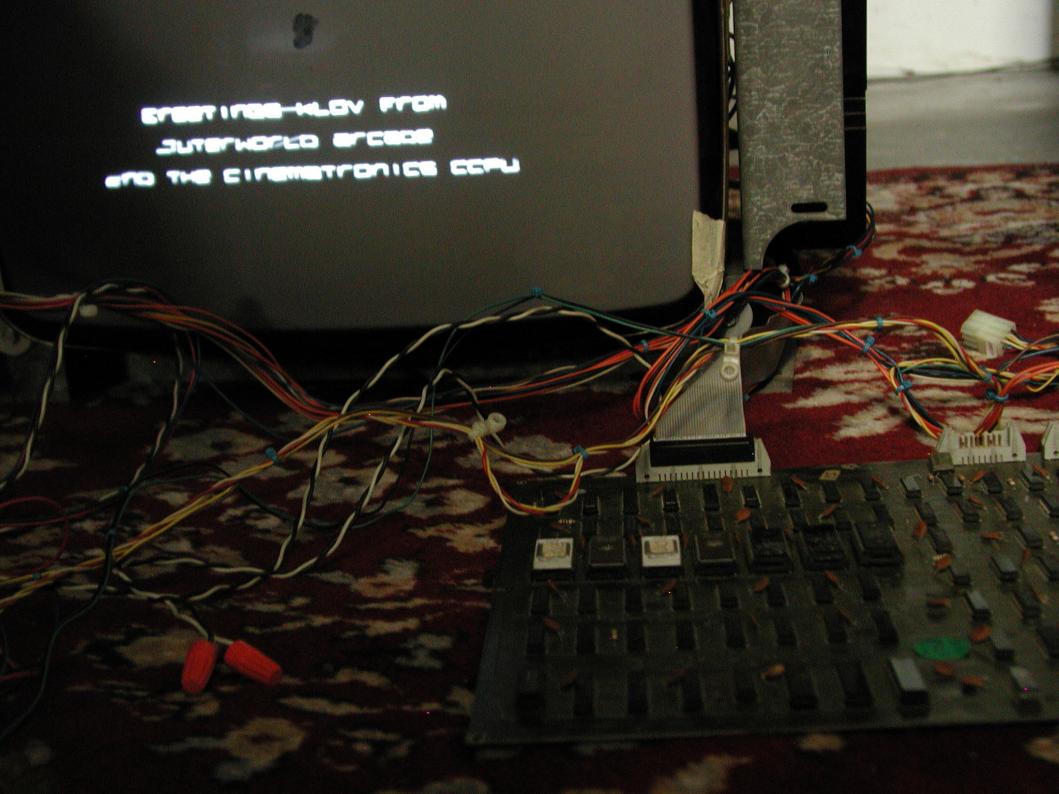
I've gotten a number of programming examples working in MAME. The pics attached are my first successful attempt at getting some new code (text strings to screen) to run on the actual hardware.
Excuse the blurry pics - my test monitor is my last dim Amprex tube. The text routine works but for some reason is resetting even though I'm petting the watchdog - I think this is what is slightly messing up the first letter in each line. Still more work to do...
Next project is to get object rotation working!

VideoPong by VideoPlay International Info Added
April 14, 2009
Just added a page with some info on the cocktail pong clone VideoPong by VideoPlay International. I finished repairing the PCB in mine awhile back without a manual or schematics. Ended up having multiple bad TTL chips found with lots of time, a logic probe and a logic comparator.
It's finally back together and 100% working. Hopefully this info will help if any others exist out there.
You can find it here.

Cinematronics Power Supplies Repair Info Added
April 11, 2009
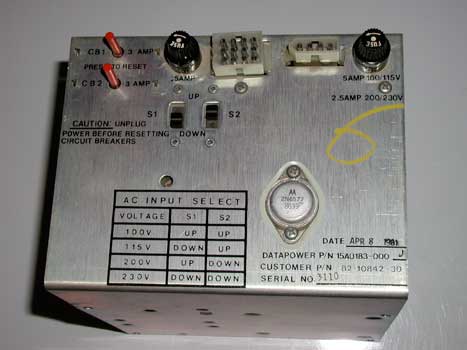
Added a page with some info on the Xentek and Datapower power supplies used in the Cinematronics B&W vector games. Also includes cap kit charts.
You can find it here.
Sundance Manual Added
April 9, 2009
I know there haven't been many updates to the site past few months. I have been making some progress on my various projects and have more info to write up and post. Stay tuned!
A small update today: I added the manual for Cinematronics Sundance to the Cinematronics Manuals page.
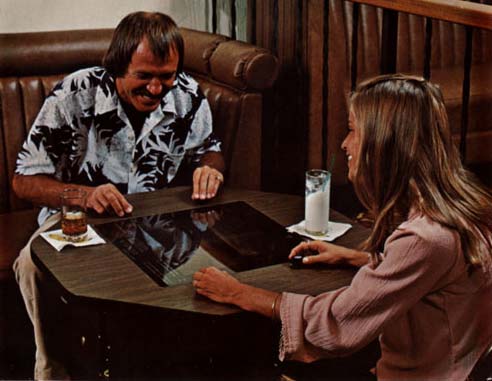
Does anyone out there actually own a Sundance?

Tailgunner Lives!
January 4, 2009
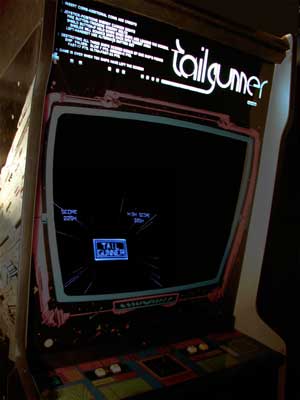
After working on my Cinematronics Tailgunner on and off for a couple of years, I finally got it up and running last night and played my first games. This required replacing the original vector monitor - which had been fried to the point of non-repair - with the newer version of the Cinematronics monitor used in Star Castle & Armor Attack.
This is not just a simple swap, since the game's joystick uses an input to the monitor's DAC to function! Thanks to Rich Pott's great write-up I had most of the info I need to do the swap. What I didn't have was an older style replacement monitor. The difference is that a jumper wire is soldered in one of the places we need to use, and a resistor has been added (possibly to protect the input of the DAC?).
Looking at this jumper wire on the top of the board, I'm still not quite sure why it has been added. The traces on the bottom of the board go to the exact same place the jumper wire does and I verified that it has continuity between the pad and the resistor with and without the jumper.
I kept the jumper in place and soldered the wire from the joystick that attaches to that location to the bottom of the board. It works perfectly!

